Table of Contents
ToggleLearn how to design T-shirts with Adobe Photoshop in this complete step-by-step guide. Whether you’re a beginner or a pro, discover the essential tools, tips, and techniques to create unique and professional-quality designs. Perfect for anyone looking to master Photoshop and bring their T-shirt ideas to life!
Step 1: Setting Up Your Canvas for T-Shirt Design
Before jumping into the creative process, it’s important to start with the right canvas setup. This step is crucial for ensuring your design is optimized for printing and looks great on the final product.
Create a New Document
- Open Photoshop: Launch Photoshop and head to the File > New option. Here, you’ll set the canvas size.
- Set Dimensions: For a standard T-shirt design, use a canvas size of 14 x 17 inches. This size works well for most adult T-shirt prints. Ensure the resolution is set to 300 pixels per inch (PPI) to guarantee high print quality and crisp details.
- Color Mode: Always choose RGB color mode for your design process, as this allows for the full spectrum of colors. You can switch to CMYK when preparing the file for printing.
- Background Setup: If you’re designing for a specific T-shirt color, you can leave the background transparent or choose a similar shade to the actual shirt color. This helps visualize how the final design will appear on the fabric.

Organize Layers from the Start
- Use Layering: From the beginning, organize different parts of your design by placing them on individual layers. This allows you to easily tweak, adjust, or replace elements later without affecting other parts of the design. For example, place text, images, and backgrounds on separate layers.
Step 2: Adding Design Elements to Your T-Shirt
With your canvas ready, it’s time to bring your T-shirt design to life. This is where you unleash your creativity by adding images, shapes, icons, and text that match the vision for your T-shirt.
Import High-Resolution Images
- Import Graphics: Whether you’re using stock images, custom graphics, or illustrations, it’s essential to use high-resolution images. Low-res images can result in pixelation when printed, so ensure that your images are at least 300 DPI to maintain quality.
- Adjust Size and Position: Use Photoshop’s Transform Tool (Ctrl + T) to adjust the size of your image elements. Hold down the shift key while resizing to maintain the aspect ratio and avoid distortion.
Create Unique Typography with Text Tools
- Text Tool (T): Adding custom text is key to many T-shirt designs. Use the Text Tool to insert your desired text, whether it’s a witty slogan, brand name, or inspirational quote. Make sure to experiment with various fonts that reflect the style or theme of your design.
- Font Choice: Choose a font that complements your overall design. For bold, minimal designs, opt for sans-serif fonts like Helvetica or Arial. For more playful designs, consider custom fonts or script styles.
- Kerning and Spacing: Adjust the spacing between letters (kerning) and between lines of text (leading) to improve legibility and aesthetics.
Add Shapes and Icons
- Shape Tool (U): Use the Shape Tool to incorporate geometric shapes or to build custom icons from scratch. Circles, triangles, and rectangles can help balance your design, add emphasis, or even serve as containers for text.
- Vector Graphics: Photoshop also supports vector graphics, which are scalable without losing quality. Use the Pen Tool (P) to create clean, sharp shapes or custom elements that maintain resolution regardless of scaling.
Step 3: Mastering Layers and Effects for T-Shirt Design
Photoshop’s powerful layering system is one of its biggest advantages. Understanding how to use layers effectively will give you maximum flexibility in creating dynamic, eye-catching designs.
Organizing and Grouping Layers
- Group Related Layers: As you add more elements, it’s easy for your layer panel to become cluttered. To avoid this, use Layer Groups (Ctrl + G) to organize related elements. For instance, group all your text layers together and all your image layers separately.
- Naming Layers: It might seem trivial, but naming layers appropriately will save you time later when you need to make adjustments. Avoid “Layer 1” and opt for descriptive names like “Main Text” or “Background Graphic.”
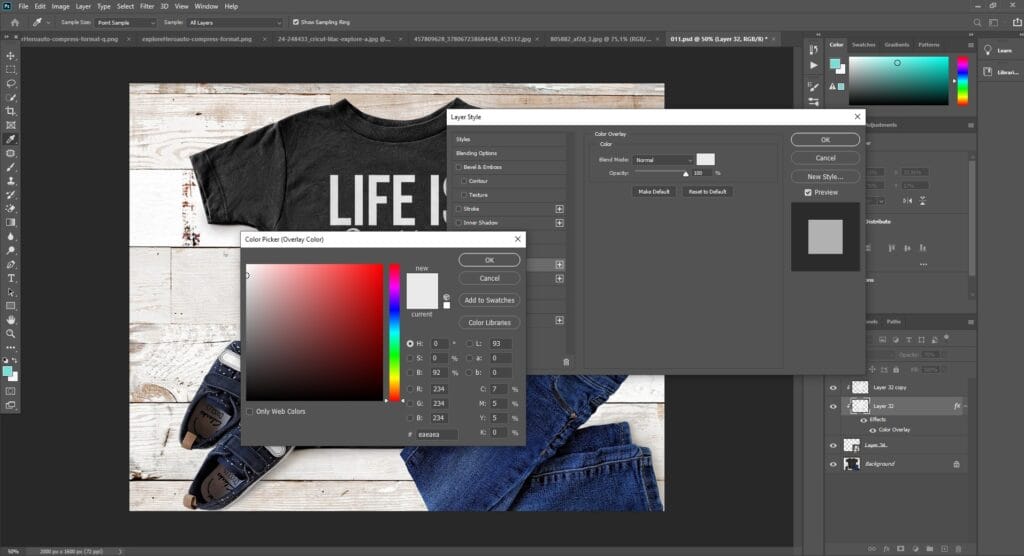
Applying Layer Effects
Photoshop offers a range of layer effects that can bring your T-shirt design to life.
- Blending Options: Right-click on any layer and choose Blending Options to explore effects such as:
- Drop Shadow: Adds a shadow behind an element, giving it depth and a three-dimensional feel.
- Stroke: This outlines your text or shapes, making them stand out more clearly.
- Outer Glow: Surrounds your element with a soft glow, perfect for creating a “highlighted” effect.
- Experiment with Opacity: Adjust the opacity of different layers to create subtle, layered effects. For example, a semi-transparent background image can complement rather than overpower the main design.
Step 4: Fine-Tuning Colors and Applying Artistic Effects
Colors and textures play a crucial role in making your T-shirt design pop. Photoshop provides a wide range of tools for adjusting colors, applying filters, and giving your design an artistic flair.
Color Adjustments
- Adjustment Layers: Use Hue/Saturation, Levels, and Curves to tweak the colors of individual elements or the entire design. This ensures that your colors are vibrant, balanced, and fit the overall mood of the design.
- Hue/Saturation: Great for making global or specific color adjustments. Want your blue to pop more? Adjust the saturation until you achieve the desired look.
- Levels and Curves: These tools help adjust contrast and brightness, which is especially useful if you want to ensure your design will look good on both light and dark shirts.

Applying Filters and Textures
- Filters: Experiment with Photoshop’s Filters (Filter > Filter Gallery) to give your design a unique style. Whether it’s adding a slight blur for depth or distortion for a vintage feel, filters can enhance your design.
- Textures: Incorporating textures can add character and depth to your design. Apply a grunge texture over your design to give it a worn, vintage look, or use grain effects for a more subtle, textured feel.
Step 5: Previewing Your T-Shirt Design with Mockups
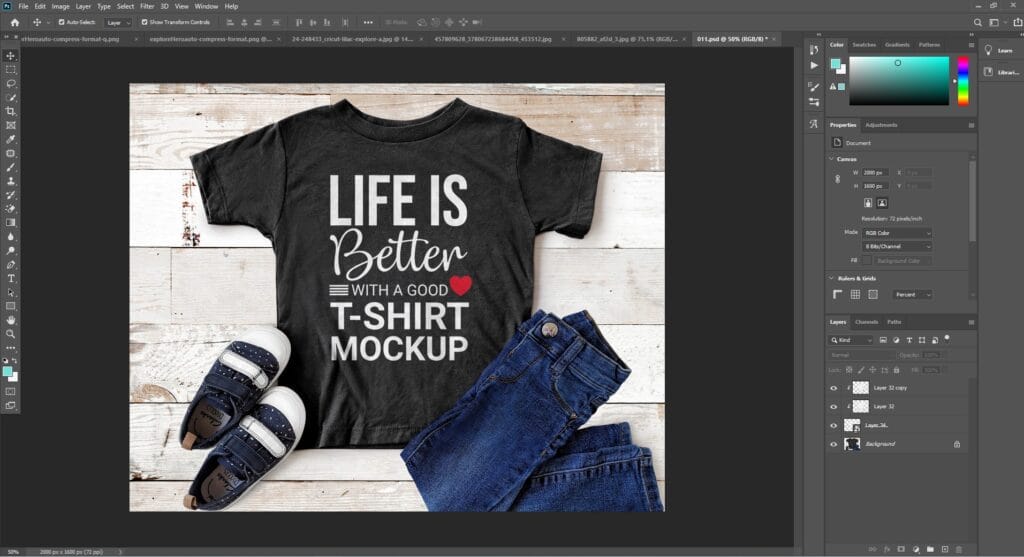
Before sending your design off for printing, it’s crucial to see how it will look on an actual T-shirt. Mockups allow you to visualize your design in a real-world setting.
Using T-Shirt Mockup Templates
- Download a Mockup: There are plenty of free and paid mockup templates available online. Websites like Placeit, GraphicRiver, and Creative Market offer high-quality mockups that simulate how your design will appear on various T-shirt colors and styles.
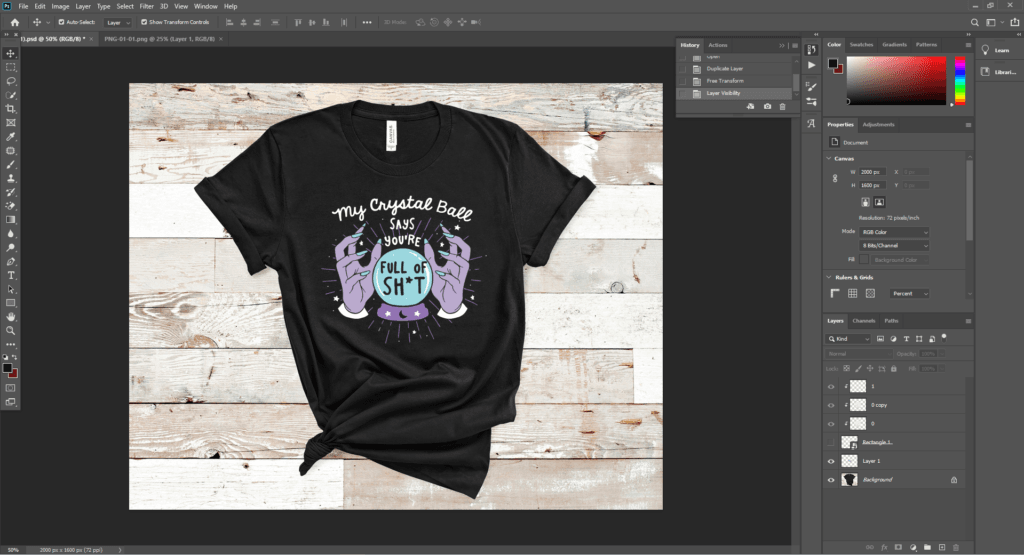
- Insert Your Design: Once you have your mockup, place your design onto the T-shirt layer in Photoshop. Adjust the size and position to fit the shirt template. Mockups not only give you a sense of proportion but also help you detect any design flaws.
Check for Errors and Final Adjustments
- Zoom In: Use Photoshop’s zoom feature to closely inspect your design for any errors. Look for things like pixelation in imported images, alignment issues, or overlapping elements that may not print correctly.
- Center and Align Elements: Make sure your design is centered and properly aligned on the shirt. Use Photoshop’s Ruler Guides (Ctrl + R) to help with precision.
Step 6: Saving and Exporting Your T-Shirt Design for Printing
Once you’re happy with your design, the next step is to save and export it in a format that’s suitable for T-shirt printing.
Save Your Project for Future Editing
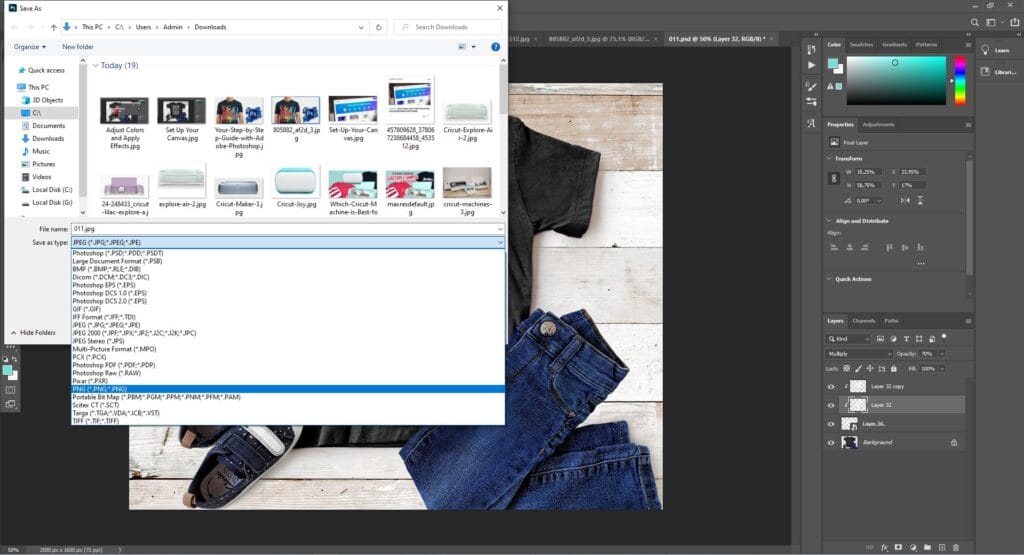
- PSD Format: Always save your project as a PSD file first. This keeps all your layers intact, allowing you to return and make edits at any time without starting from scratch.

Export Your Design for Printing
- PNG with Transparent Background: If you’re printing on colored T-shirts, save your design as a PNG with a transparent background. This ensures that the background color of the shirt shows through any non-printed areas of the design.
- CMYK for Print: Some printers require designs in CMYK color mode. If that’s the case, convert your design to CMYK (Image > Mode > CMYK Color) before exporting.
Step 7: Printing and Bringing Your T-Shirt to Life
Now that your design is ready, it’s time to turn it into a real T-shirt.
Choose a Printing Service
- Research Printing Services: There are many online T-shirt printing services to choose from, such as Printful, TeeSpring, and Custom Ink. Each has different pricing, print quality, and delivery options, so compare to find the best fit for your needs.
Submit and Review
- Upload Your Design: Once you’ve chosen a printer, upload your design, select your shirt type and color, and place your order.
- Order a Sample: Before ordering a large batch, consider ordering a sample to ensure the print quality meets your expectations. Review the colors, alignment, and overall print clarity before finalizing your bulk order.
Conclusion
To wrap it up, designing T-shirts with Adobe Photoshop is a fun and rewarding process. By following this step-by-step guide, you can create designs that truly reflect your vision. If you enjoyed this article, feel free to leave a comment, share your thoughts, or pass it along to a friend. And don’t forget to explore more content on our website for additional design tips and inspiration. Happy designing!

