BLOG
Cricut Maker 3 Cutting Mat Types: Which One Should You Use for Your Project?
If you’re using the Cricut Maker 3, you already know how versatile and powerful it is. But to get the most out of this cutting machine, there’s one often-overlooked element that can make or break your project: the cutting mat. Whether you’re working with delicate paper, thick materials, or fabric, selecting the right mat is essential for achieving perfect cuts every time.
In this comprehensive guide, I’ll walk you through the different types of Cricut Maker 3 cutting mats, explain their specific uses, and offer tips for maintaining your mats so they last as long as possible. Plus, I’ll share insights and real-world examples from my own crafting experiences to help you make the best choice for your projects.
Types of Cricut Maker 3 Cutting Mats: Which One is Right for You?
Let’s start with the basics. The Cricut Maker 3 comes with several cutting mat options, each designed for different types of materials. Picking the right one ensures your materials are held securely and cut accurately. Here’s a breakdown of the four most commonly used mats:
1. Standard Grip Cutting Mat: Your Everyday Go-To
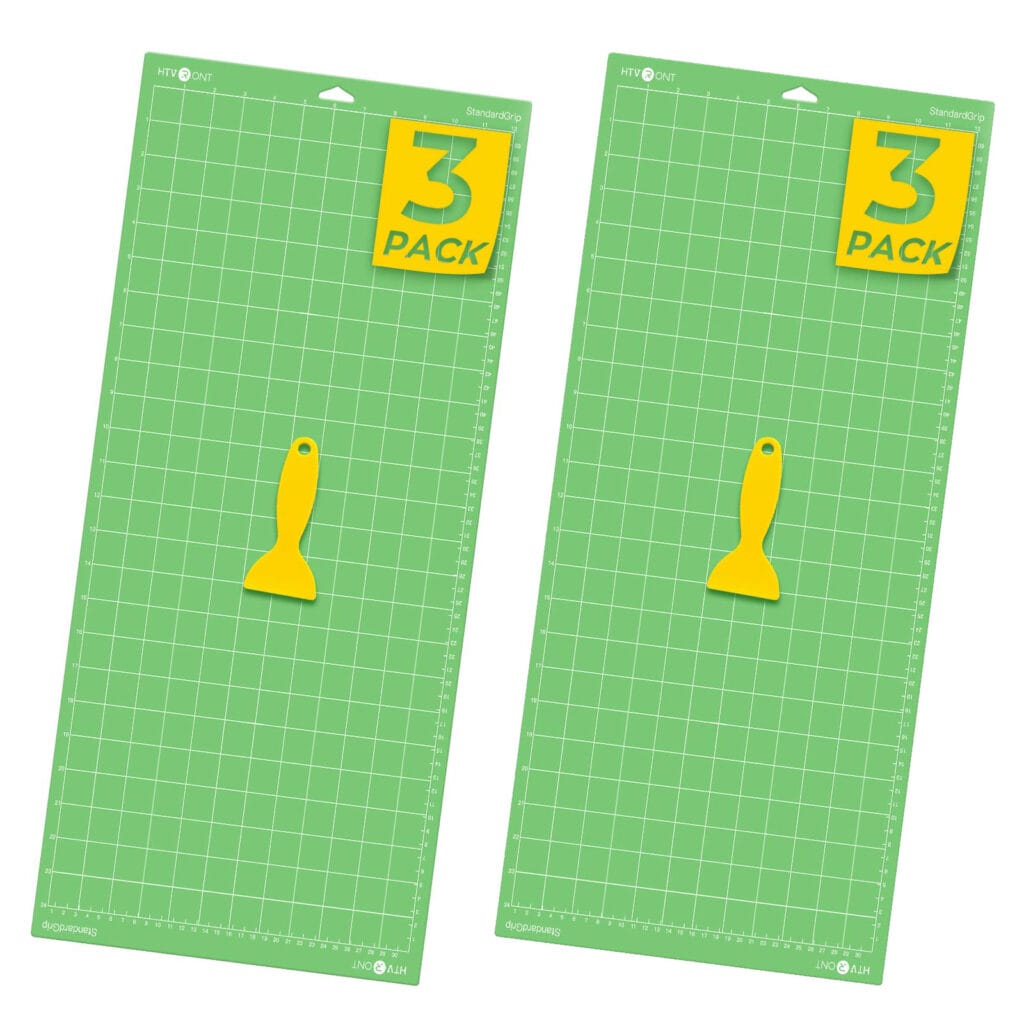
The Standard Grip Cutting Mat is likely the one you’ll reach for most often. It’s the workhorse of your Cricut mat collection, offering just the right amount of grip for medium-weight materials.
- Best for: Cardstock, vinyl, iron-on, patterned paper, and scrapbook paper.
- Why it works: This mat strikes the perfect balance between holding materials in place and releasing them easily after cutting. It’s versatile enough for most everyday projects, making it a must-have in your crafting toolkit.
Pro Tip: I often use this mat when working on multi-layered paper projects or making vinyl decals. One trick I’ve learned is to rotate the mat every so often. This way, you avoid excessive wear in one spot, which can help prolong its life.
2. Light Grip Cutting Mat: Gentle but Effective
For those delicate materials that need a gentler touch, the Light Grip Cutting Mat is your best friend. It offers a softer hold that prevents lightweight materials from tearing or warping during the cutting process.
- Best for: Printer paper, thin cardstock, vellum, and other fragile materials.
- Why it works: The light adhesive prevents materials from sticking too strongly to the mat, reducing the risk of damage when removing your cutouts.
Real-life Example: I remember one time when I was cutting vellum for a wedding invitation project. The vellum kept curling and sticking too much to the standard mat, causing it to tear. Switching to the Light Grip Mat solved the problem instantly, allowing for clean, crisp cuts without damaging the delicate material.
3. Strong Grip Cutting Mat: The Powerhouse for Heavy Materials
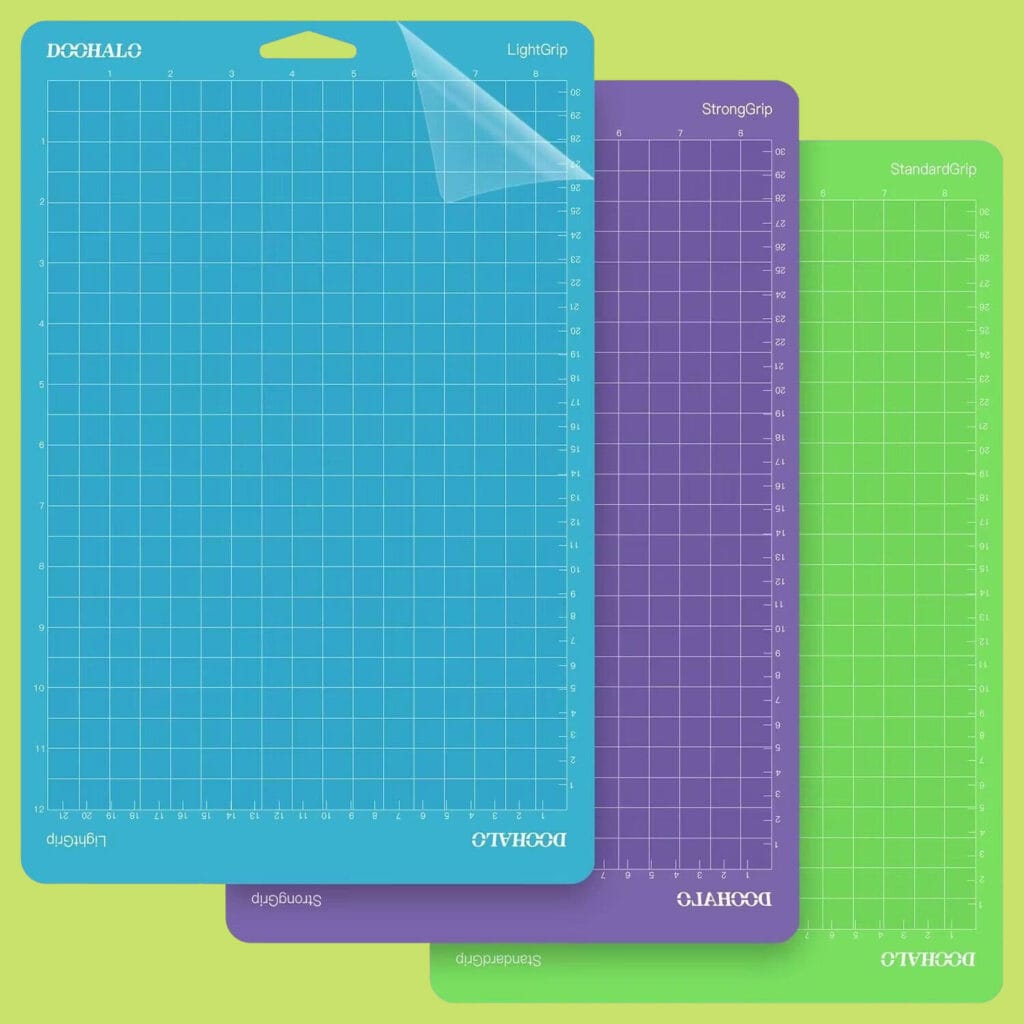
When your project calls for thick or dense materials, the Strong Grip Cutting Mat steps in. This mat has a firmer adhesive, ensuring heavier items stay in place during the cutting process.
- Best for: Chipboard, balsa wood, leather, and even glitter paper.
- Why it works: The extra adhesive on this mat is strong enough to handle more resistant materials. You won’t have to worry about chipboard sliding around or failing to cut through completely.
Pro Tip: One common issue with thicker materials is residue left behind after cutting. To keep your mat clean and ready for the next use, use a lint roller or scraper immediately after cutting. This helps maintain the mat’s adhesive and keeps it from wearing out prematurely.
4. Fabric Grip Cutting Mat: Precision for Quilters and Sewers
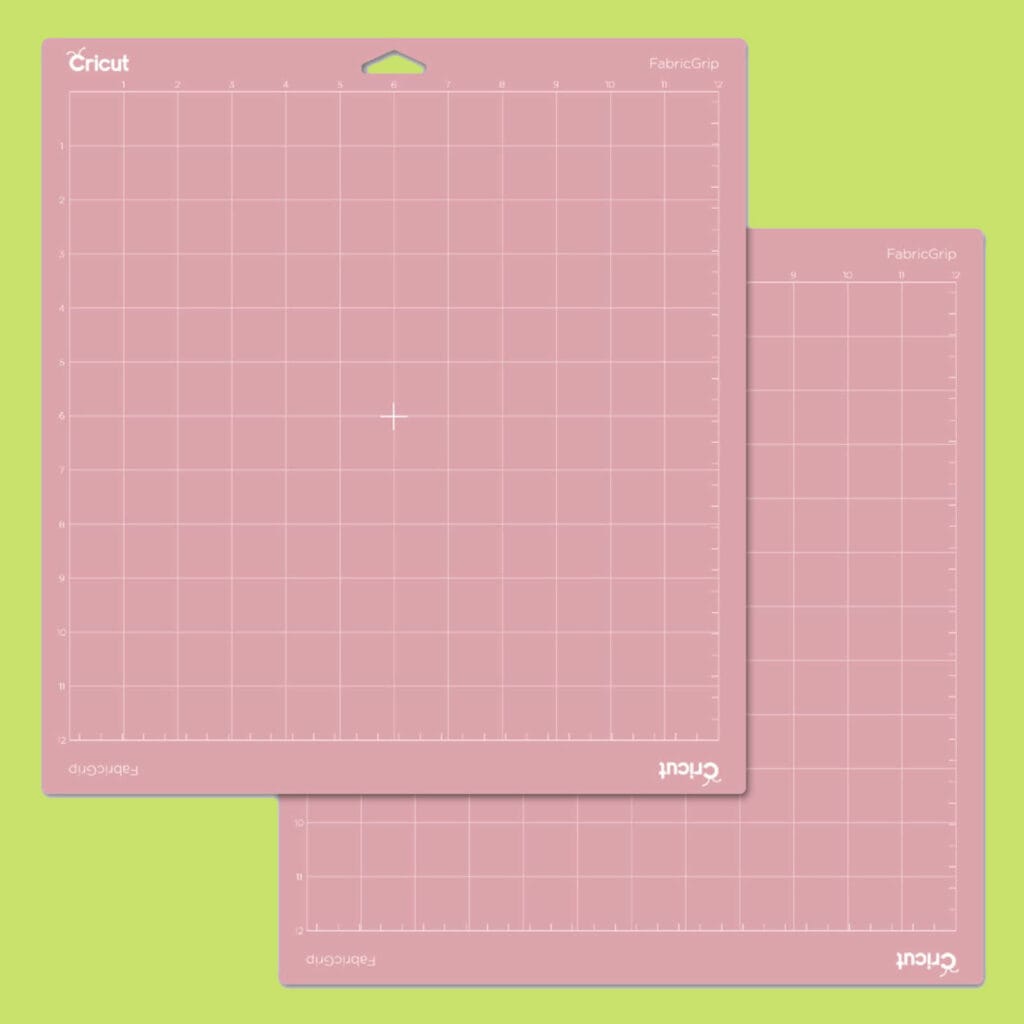
The Fabric Grip Cutting Mat is specially designed for cutting fabric without fraying or bunching, making it ideal for anyone who loves to sew or quilt.
- Best for: Cotton, polyester, and other fabric types.
- Why it works: The adhesive on this mat is strong enough to hold fabric securely, even without the need for a backing or stabilizer. This ensures accurate cuts, which is crucial for projects like quilt squares or appliqué designs.
Personal Experience: As someone who dabbles in sewing, I use this mat often for cutting fabric strips for quilts. Unlike some mats that can cause fabric to bunch or move during cutting, the Fabric Grip Mat holds everything perfectly in place. I’ve found that pairing it with a rotary blade gives me the cleanest, most precise cuts possible.
How to Choose the Right Cutting Mat for Your Project
Now that you know the basics of each mat, how do you choose the right one for your specific project? Here are a few key factors to consider:
Material Type
The type of material you’re working with is the most critical factor. Each cutting mat is designed to handle specific materials effectively. For example, if you’re cutting lightweight paper, the Light Grip Mat is ideal, but for heavier materials like chipboard, you’ll need the Strong Grip Mat.
Tip: If you’re unsure which mat to use, think about how easily the material tears or warps. Delicate materials require less adhesive, while dense materials need a stronger grip to stay in place during cutting.
Project Complexity
Are you working on a simple, single-material project, or are you layering multiple materials? For example, if you’re making a multi-layered vinyl decal, the Standard Grip Mat will likely be your best bet. But if you’re cutting thick glitter paper or chipboard, the Strong Grip Mat is a better option.
Insight: I often work on intricate designs that involve layering different materials. In these cases, having the right mat for each material makes all the difference in ensuring clean cuts and easy removal from the mat.
Frequency of Use
If you frequently work with a particular type of material, consider investing in multiple mats designed for that material. For example, if you’re a quilter, having multiple Fabric Grip Mats ensures that you always have a clean, sticky surface ready for your next project.
Proper Care and Maintenance of Cricut Cutting Mats
Your cutting mats are an investment, so it’s essential to take care of them properly to extend their lifespan. Here are some tips I’ve found helpful:
1. Keep Your Mats Clean
Dust, debris, and leftover material scraps can quickly reduce the effectiveness of your mat’s adhesive. Regular cleaning will help keep the mat sticky and ready for use.
- How to Clean: Use a scraper to remove excess debris, then gently wipe the mat with a damp cloth or baby wipe. Avoid harsh chemicals, as they can damage the adhesive.
Pro Tip: For mats that have lost their stickiness but aren’t ready to be replaced, try washing them with mild soap and water. Lay them flat to air dry, and you’ll often find the adhesive is restored to its former strength.
2. Store Mats Flat
Rolling or folding your cutting mats can cause warping, which leads to uneven cuts. Always store your mats flat, either on a shelf or hanging them up by the hole at the top.
3. Watch for Signs of Wear
Over time, even the best mats will start to wear out. Look for peeling edges, loss of grip, or visible scratches. If your cuts aren’t as clean as they used to be, it’s probably time to replace the mat.
Tip: I like to rotate my mats regularly to ensure even wear. This simple trick can extend the life of your mats and keep them in good condition longer.
Final Thoughts: The Importance of Choosing the Right Cutting Mat
The right cutting mat is essential to the success of your Cricut Maker 3 projects. Whether you’re working with paper, vinyl, fabric, or heavy materials like chipboard, using the correct mat ensures clean cuts and prevents damage to both your materials and your machine. By understanding the strengths of each mat and how to care for them properly, you’ll get the best possible results from your crafting projects.
Common Questions About Cricut Maker 3 Cutting Mats
1. Can I use multiple materials on one cutting mat?
Yes, but it’s best to use materials that match the mat type. Mixing materials with different thicknesses or adhesion requirements on the same mat can result in poor cuts.
2. How often should I replace my cutting mat?
There’s no set timeline, but frequent use or visible wear like peeling or loss of grip are clear signs it’s time for a replacement.
3. Are there special mats for specialty materials?
Yes, Cricut offers specialty mats like the Fabric Grip Mat for fabrics or the Strong Grip Mat for denser materials.
4. Can I clean my cutting mat in a washing machine?
No, cleaning your mat in a washing machine can damage it. Always clean it manually with mild soap and water.
5. Will using the wrong mat affect my cuts?
Absolutely. Using the wrong mat can lead to inaccurate cuts, material damage, or even machine errors, so always choose the right mat for your material.

