BLOG
Beginner’s Guide to Using Silhouette Cameo: Unlocking Your Creative Potential!
Silhouette Cameo is a must-have tool for any craft lover! If you’re just starting out, this guide will help you get familiar with this incredible cutting machine. We’ll walk you through the setup process, show you how to use the software, and share tips for choosing the best materials for your projects. Whether you want to create beautiful home décor, personalized gifts, or custom apparel, the Silhouette Cameo makes it all possible. Join us in exploring your creative potential and turning your ideas into reality—let’s start crafting today!
What is the Silhouette Cameo?
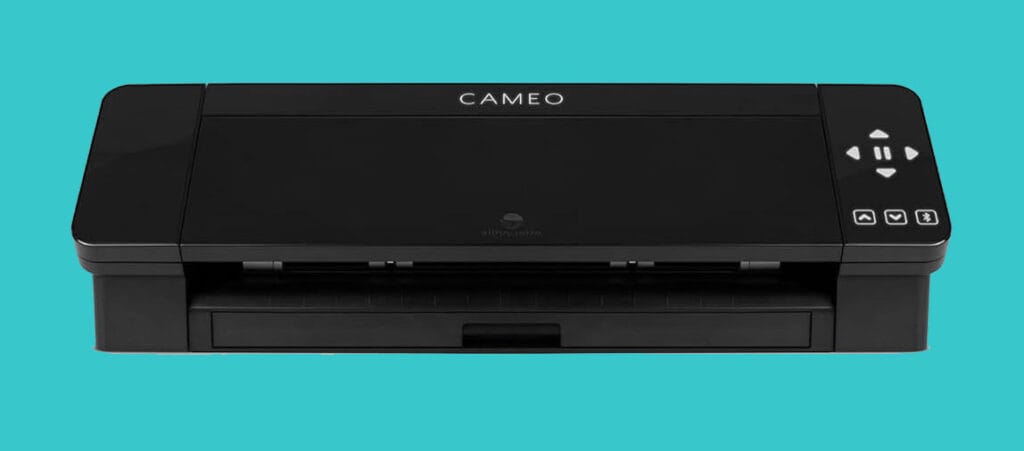
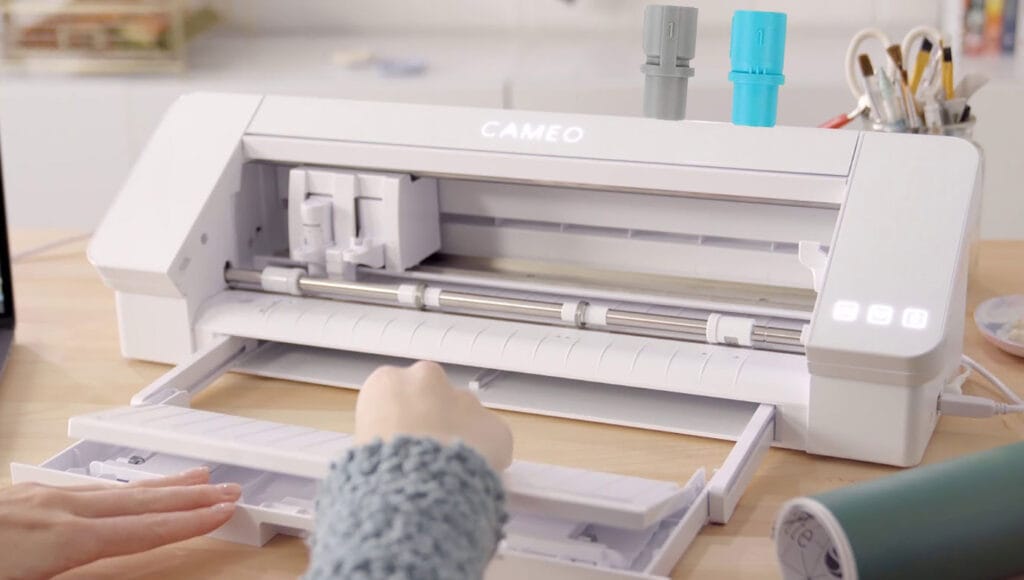
The Silhouette Cameo is an electronic cutting machine that has revolutionized the way crafters create. Imagine it as a printer, but instead of using ink, it employs a precise blade to cut various materials into intricate designs. From vinyl and paper to cardstock and fabric, the versatility of the Silhouette Cameo allows you to unleash your creativity in countless ways.

When I first got my Cameo, I was amazed at how it transformed my crafting experience. I remember creating personalized gifts for my friends, like custom mugs and T-shirts with their names and favorite quotes. The joy on their faces when they received these unique items was priceless, and it motivated me to explore even more crafting projects!
Key Features of the Silhouette Cameo
Understanding the features of the Silhouette Cameo can significantly enhance your crafting experience. Here are some standout features:
- Smart Cutting Technology: The Cameo can automatically adjust its blade according to the material’s thickness. This ensures precision cutting every time. You won’t have to worry about guesswork or trial and error, which is a relief, especially for beginners like you!
- Cross-Cutting Capability: It accommodates various media sizes up to 12 inches wide. This feature is perfect for larger projects, such as home décor pieces or intricate designs for parties.
- Wireless Connectivity: Some models allow you to design and send projects wirelessly from your computer or mobile device. Imagine sitting on your couch, sipping coffee while designing your next project on your tablet, and then sending it directly to your Cameo. That’s the beauty of technology!
How to Set Up the Silhouette Cameo for Beginners

Setting up your Silhouette Cameo for the first time might seem a bit overwhelming, but trust me, it’s a straightforward process. Here’s a simple step-by-step guide to get you started:
Step 1: Unbox and Assemble
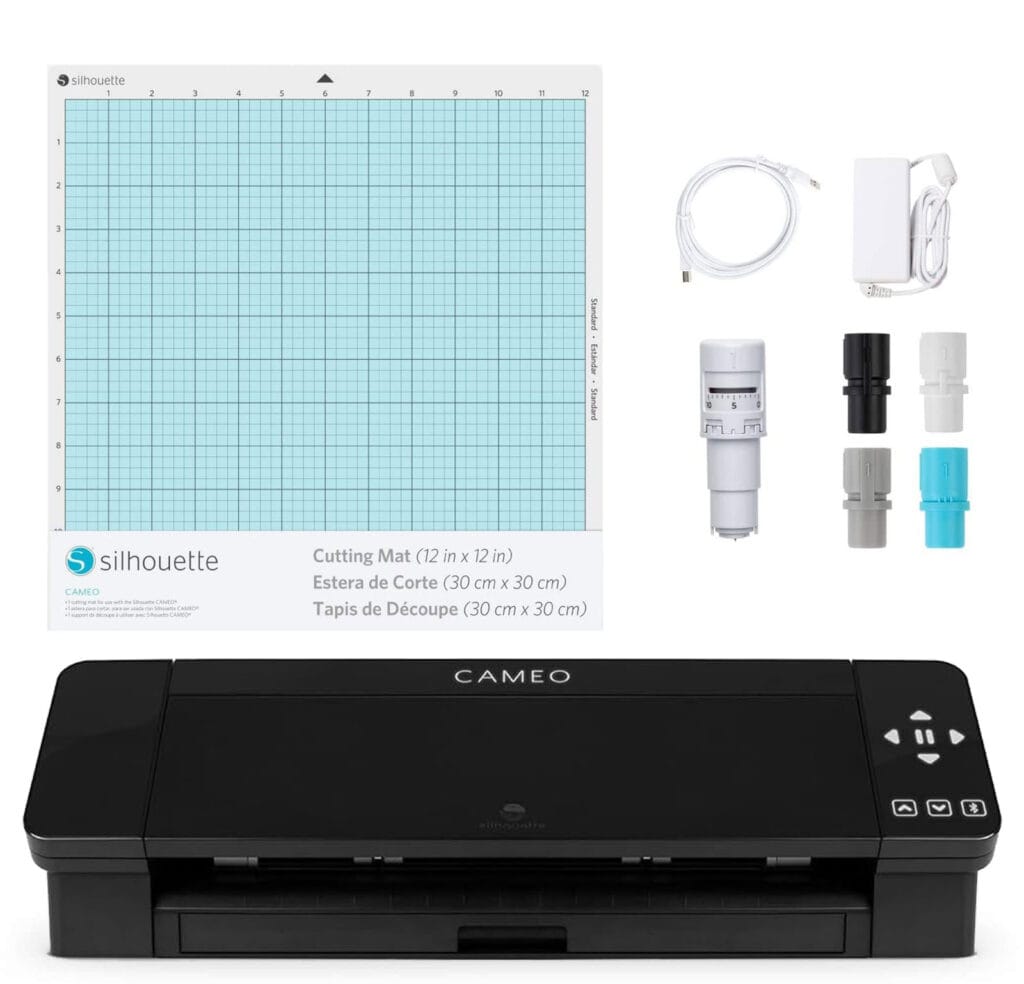
Carefully unpack your Silhouette Cameo, ensuring that all components are included. You should find the machine, power cord, USB cable, and a cutting mat. Place the machine on a sturdy surface for stability during use. I remember my excitement when I first unboxed mine, eager to see what I could create!
Step 2: Connect Power and USB
Plug in your Silhouette Cameo and connect the USB cable to your computer. Once the machine is powered on, a welcome screen will appear, indicating it’s ready for operation. This part always gives me a sense of anticipation as I prepare to bring my designs to life.
Step 3: Install Software
Download and install the Silhouette Studio software from the official Silhouette website. This software is essential for designing your projects before cutting. Follow the installation prompts, and once complete, open the software to confirm that your Cameo is detected. Don’t worry if you run into any hiccups—I found online tutorials helpful when I faced installation issues!
Silhouette Cameo Software Tutorial
Now that your machine is set up, it’s time to get familiar with the software. The Silhouette Studio interface can feel a bit intimidating at first, but once you dive in, you’ll see how user-friendly it is.
Understanding the Interface
When you open Silhouette Studio, you’ll see a workspace where you can create your designs. The toolbar on the left offers various tools, such as the shape tool, text tool, and drawing tool. I recommend experimenting with each tool to see what you can create. You might surprise yourself with your creativity!
Creating Your First Design
To create a simple design, follow these steps:
- Select the Text tool and type a word or phrase. You could try your name or a motivational quote that inspires you.
- Resize it using the corner handles to fit your desired dimensions. Don’t be afraid to play with the size; this is your creation!
- Change the style or font to something that resonates with you. The possibilities are endless, and choosing the right font can really set the mood for your project.
Sending to Cut
Once you’re satisfied with your design, it’s time to cut! Click on “Send” in the software, select your material type, and adjust your blade settings. Place your material on the cutting mat, load it into the machine, and hit “Cut.” I always feel a rush of excitement during this moment, knowing that my design is about to come to life!
Step-by-Step Guide to Using the Silhouette Cameo

With everything set up and your design ready, let’s break down the entire process of using the Silhouette Cameo from start to finish:
Step 1: Gather Your Materials
Depending on your project, collect the materials you’ll cut. Starting with simple materials like paper or vinyl is a good idea as they are easier to work with. I once tried cutting a complicated fabric without practicing first, and let’s just say it didn’t end well!
Step 2: Prepare Your Design
Use Silhouette Studio to create or import your design. Make sure to adjust the dimensions to fit your cutting area. Remember, precision is key!
Step 3: Load Your Material
Position your material onto the cutting mat, ensuring it is smooth and wrinkle-free. A well-loaded mat will lead to cleaner cuts. This is a lesson I learned after a few frustrating attempts!
Step 4: Cut Your Design
Select the material type in the software, confirm your blade settings, and hit “Cut.” Monitor the progress; it usually doesn’t take long, depending on the complexity of your design. I love watching the machine work; it feels like magic!
Step 5: Unload and Finish
Once cutting is complete, unload the mat and carefully peel away your design. Depending on your project, you may need to weed out the excess material. Take your time with this; it’s where your design truly starts to shine!
Silhouette Cameo Tips and Tricks for Beginners
As with any new tool, there are handy tips and tricks that can enhance your workflow with the Silhouette Cameo:
Experiment with Different Materials
Try cutting various materials like heat transfer vinyl (HTV), craft foam, or cardstock to discover what works best for your projects. Understanding material compatibility will expand your creative options. I once made a beautiful banner using felt, and it turned out stunning!
Always Use a Cutting Mat
When working with any material, always use a cutting mat. It ensures better adhesion during cutting and prolongs the life of your blade. Trust me, a good mat is worth the investment.
Keep the Blade Fresh
Regularly check your blade for wear and tear. A dull blade can result in jagged cuts, so consider replacing it if you notice reduced performance. I learned this the hard way after my cuts started looking uneven.
Best Materials for Silhouette Cameo Projects
Knowing which materials work best with your Silhouette Cameo will help you achieve stunning results. Here’s a list of preferred materials for various projects:
- Vinyl: Adhesive vinyl and heat transfer vinyl (HTV) are fantastic for making decals, personalized T-shirts, and home décor items. Just remember to use the correct cutting settings for each type!
- Paper and Cardstock: Papers of various weights are excellent for scrapbooking, card-making, and other paper crafts. Choose lightweight paper for intricate cuts and heavier cardstock for sturdier projects.
- Fabric: Using fabric with HTV allows you to create custom clothing and accessories. Ensure you use a fabric stabilizer for optimal cutting. I’ve made several cute fabric projects using this method!
Troubleshooting Common Silhouette Cameo Issues
Despite its user-friendliness, you might encounter issues when using your Silhouette Cameo. Here are some common problems and solutions:
Blade Not Cutting Properly
If your blade isn’t cutting through the material, check whether it’s dull or not set correctly for the material type. Don’t hesitate to replace or adjust the blade as needed.
Design Not Aligning
If your design isn’t cutting in the correct position, ensure your material is properly loaded and aligned before cutting. Calibration may also be necessary. I once had a project misaligned, and it taught me the importance of double-checking!
Software Crashes
If the Silhouette Studio software crashes, try restarting your computer or checking for software updates. This can resolve bugs or glitches that might interrupt your workflow.
Final Thoughts
With this Beginner’s Guide to Using the Silhouette Cameo, you now have a solid foundation to start unleashing your creativity. By understanding the setup, software capabilities, and best practices, you can confidently explore endless crafting possibilities. Remember, practice makes perfect! Embrace the learning process, and soon the Silhouette Cameo will become an indispensable part of your creative toolkit.
So, are you ready to get started? Grab your machine, gather your materials, and let your imagination run wild. Happy crafting!

